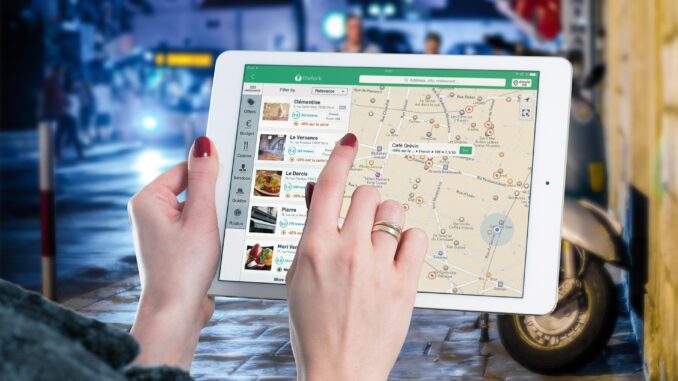
Making your online presence known is enormously crucial. Here’s why: every fifth search query is related to some location, so being listed on Google or Apple Maps, in a GPS application – you name it – is just as important as making sales or doing marketing to build up a business. Thankfully, different online services allow you to hop aboard quite easily, it’s not some rocket science. And once you add your business to maps, more potential customers will be able to locate you. The more customers get to see your brand under organic web listings or places, the more buzz you can generate.
How To Add Your Business To Google Maps
In case you didn’t know Google Maps is the most popular application with almost 1 billion active monthly users. Nearly 70% of mobile owners are known for using Google Maps on a regular basis, so there’s all the more reason to get a listing ASAP.
Here’s how to do it.
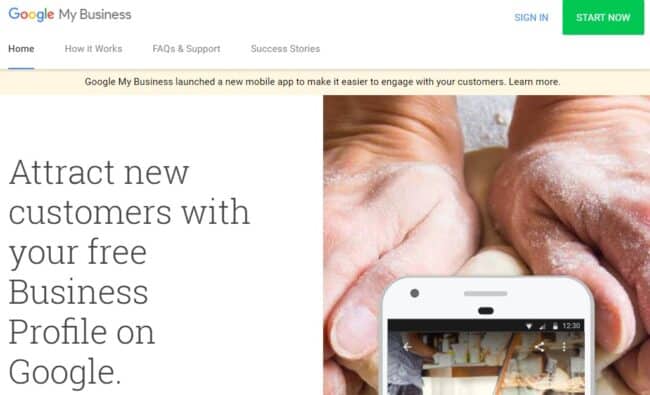
First Add Your Business To Google My Business
There are two options: you can visit the website or download the application from App Store or Google Play. It’s great that Google My Business allows you not only to add your business’ physical location to Google Maps, but also engage users by posting new offerings if you create a free website there.
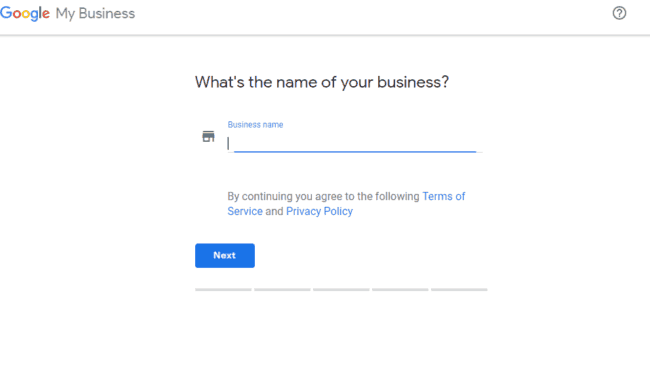
- Open account. Create a new account on Google My Business or use your existing Google account.
- Enter the name. Then type in your business’ name.
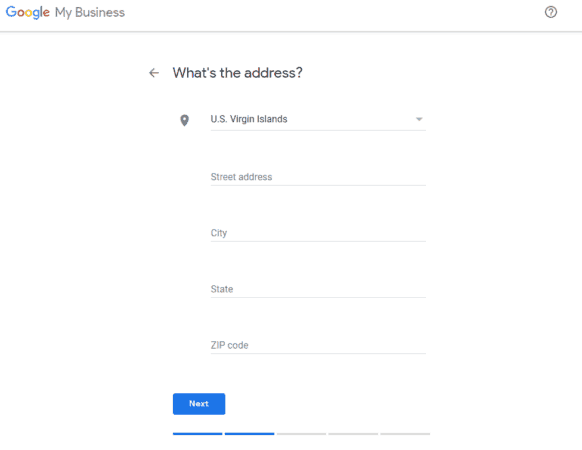
- Add your business. After you entered the name, you get to the next section where you will locate the business – select the type of business you have (it can be either virtual business or a land-based store) and add the physical address. If you check the option to deliver goods to customers, you’ll have to locate the place on the map.
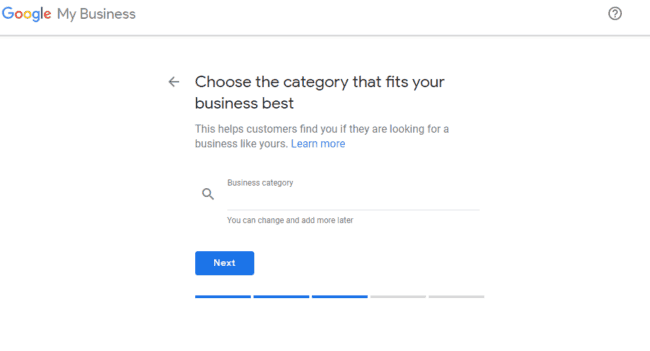
- Choose preset categories. Don’t skip the section with the search engine optimization – it’ll help you ensure that customers looking for services or products in your niche get to see your business listing. So here you need to select the category your venue falls in and enter the areas where you’ll be able to serve.
Then Verify Your Business
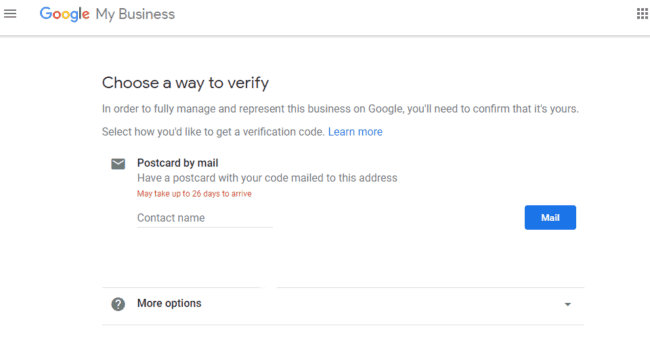
As soon as your listing is added to Google My Business, you’ll have to verify the location, and it’s not some typical SMS with a code – Google will send you a verification PIN in a postcard. And only when the address is verified, you business will be able to come live in the search and map results. Don’t worry: as a rule, these postcards take a week or two to arrive.
Go Into Detail And Improve Your Listing
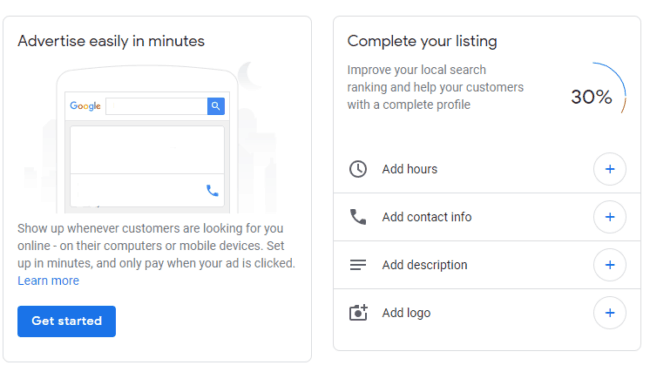
If your verification is done, you can add more specific details to your business listing – description of your place, photos, working hours, reviews display. Make sure that you give every technical detail of your venue to users.
How To Add Your Business To Apple Maps
Though Apple Maps gets often reviled, no one can deny the fact that it’s the ninth most popular navigation application with heaps of devoted users. For the record, voice searches account for around one billion queries monthly, and interestingly, most of them are for local requests. So, Apple Maps is another great option to attract more clients to your company.
Here’s how you can add your business to Apple Maps in a few steps.
Add Your Business
Again, you’ll need to create an account first or sign in with your Apple ID. Go to Maps Connect and get logged in. The process is actually quite similar to what you’ve seen on Google My Business.
- Choose your business. Type in your place’s name and the address and then look though different businesses to find yours.
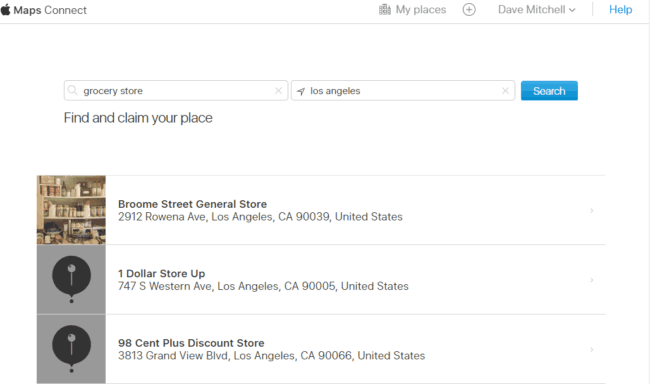
- Claim your business. After you’ve clicked on your venue, you’ll see a box with information – click ‘Claim this place’.
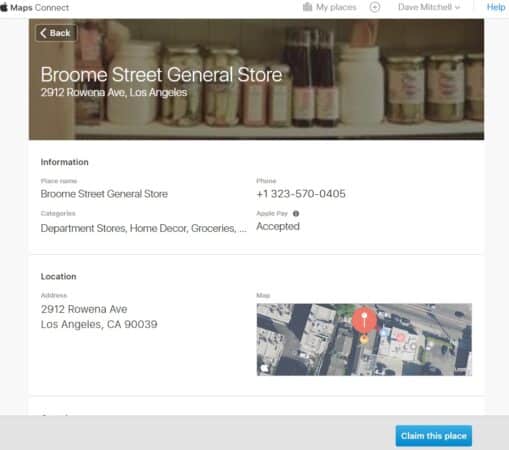
- Enter details. Make sure the listing contains all the right information, so update some details like the address or the phone and fill our information correctly.
- Verify the phone. Just as Google, Apple wants you to verify that this business is yours, so they’ll call on the phone provided in the listing. Note that this step is not necessary, and you can get a code any time later to finish your verification.
Add Details
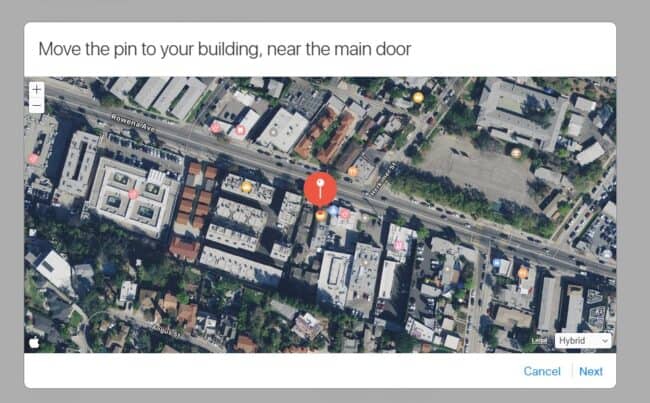
Right after the verification is set and done, you can select your place on the map – just move the red pin to the building where your business is located. Then you’ll be asked to give a little bit more details about your venue.
- Social media and website. Simple copy and pasty all the links into the fields – add your website address, extra profiles or you can also add something more specific in ‘Add More Details’ section.
- Working hours. Then don’t forget to look through time checkboxes and choose the hours when your venue is open.
Review The Info
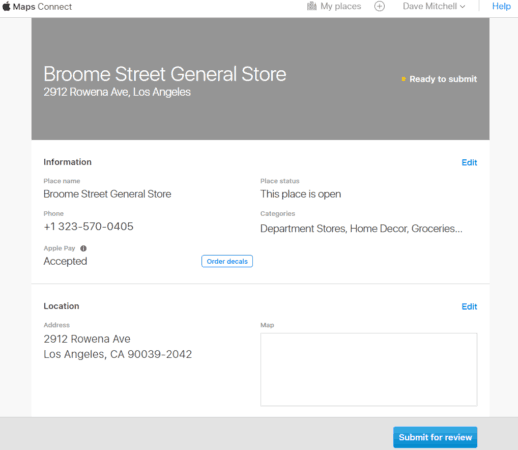
Finally, you’ll be shown the whole picture: your business location, contacts, working hours, name, phone, categories etc. Make sure everything is okay. A new listing would pop up on Apple Maps within a few weeks after you’ve done additional verification. Apple will contact you to require more info.
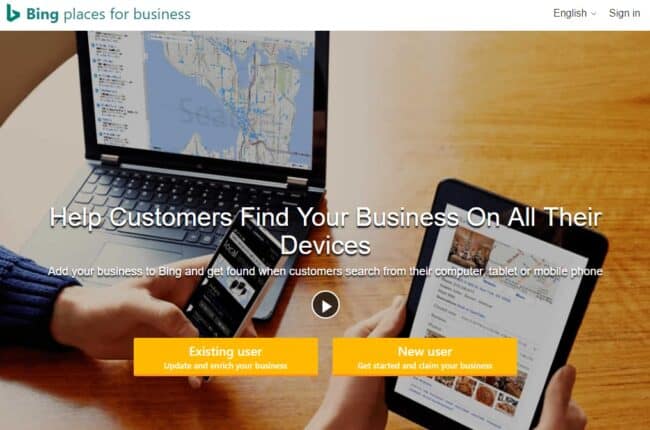
How To Add Your Business To Bing Places
The world’s third search engine is one more amazing place to connect your business with the local community, and it’s going to be just as easy.
Here’s your step-by-step instructions to add the business to Bing Places.
Add Your Business To Bing
- Get started. There’re two orange boxes where you can either sign up or log in to your Bing account. Besides, if you have a Microsoft one, you can login to it.
- Add a new listing. Then you’ll see a screen with adding a business – Bing offers to create a new listing or claim an existing business through location and name. If you have an account on GMB, Bing offers you to import all the details and get instant verification.
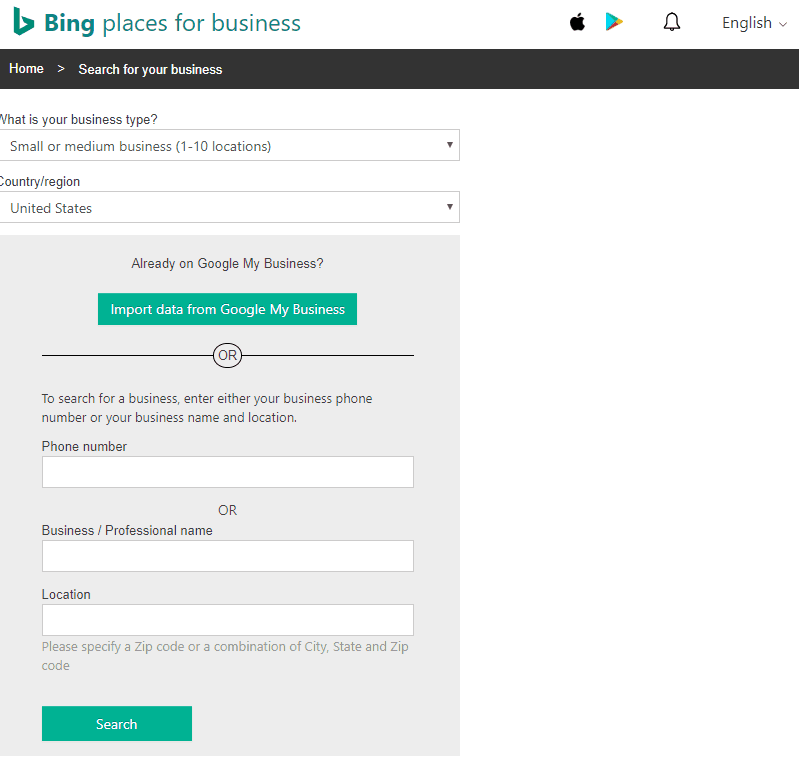
- Enter details. First set a blue pin marking your location and then type in details – you can add additional details, photos, contact information and general info about your venue. Compared to Apple Maps or Google My Business, you’ve got an opportunity to enter every little detail before verification all at once.
Verify Your Listing By Mail
After the details are filled in, submit them and verify your business. You’ll receive a mailer containing a code – great that it takes just a couple of days for a mailer to get around. Besides, if you want to manage multiple accounts, Bing allows to add a few more listings with businesses. Don’t forget to continue managing every listing when the verification is done.